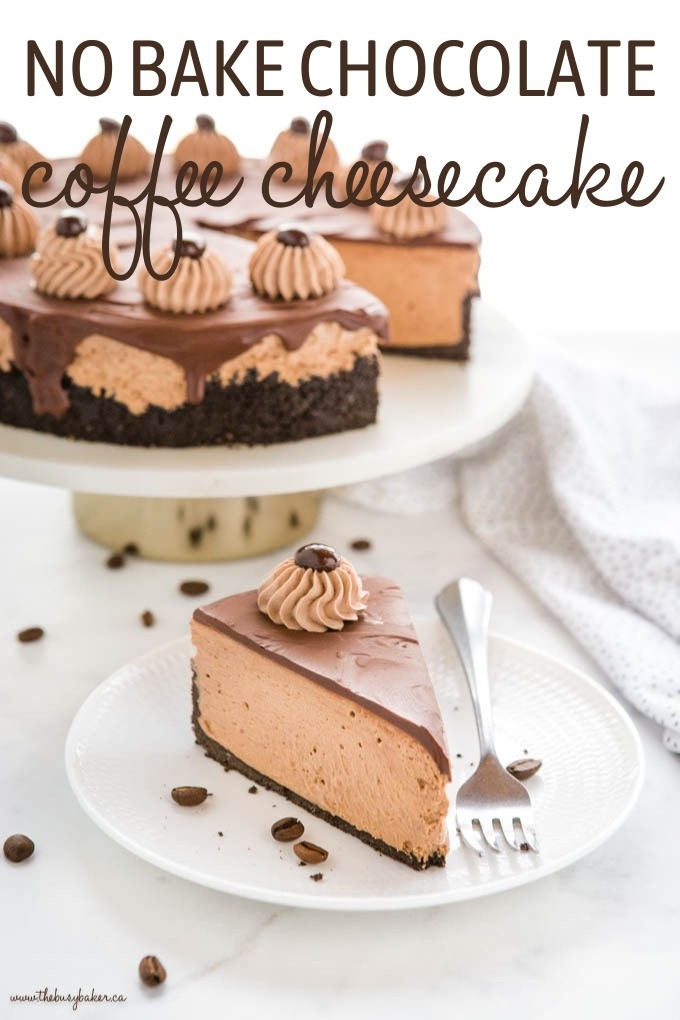
If you’re a coffee lover and enjoy creamy desserts, this no bake coffee cheesecake is the perfect treat. It’s rich, smooth, and full of bold coffee flavor, all without needing an oven. This makes it an ideal dessert for warm days, quick preparations, or when you want something impressive with minimal effort.
With a buttery biscuit base and a silky coffee-infused cheesecake filling, this dessert is both indulgent and easy to make.
What Is No Bake Coffee Cheesecake?
No bake coffee cheesecake is a chilled dessert made with a crushed biscuit base and a creamy filling flavored with coffee. Instead of baking, the cheesecake sets in the refrigerator, resulting in a soft, mousse-like texture.
It’s lighter than baked cheesecake but still rich and satisfying.
Ingredients You’ll Need
Here’s a simple version of this recipe:
For the Base
200g digestive biscuits or graham crackers
100g melted butter
For the Filling
250g cream cheese (softened)
1 cup heavy cream
½ cup powdered sugar
1–2 tablespoons instant coffee (dissolved in 2 tablespoons warm water)
1 teaspoon vanilla extract
Optional Toppings
Cocoa powder
Chocolate shavings
Whipped cream
Coffee beans for garnish
Step-by-Step Instructions
Step 1: Prepare the Base
Crush the biscuits into fine crumbs using a food processor or by hand. Mix with melted butter until well combined.
Press the mixture firmly into the bottom of a springform pan to form an even base. Place it in the refrigerator for 20–30 minutes to set.
Step 2: Prepare the Coffee
Dissolve instant coffee in warm water and let it cool slightly.
Step 3: Make the Filling
In a bowl, beat cream cheese and powdered sugar until smooth. Add vanilla extract and the prepared coffee, mixing until well combined.
Step 4: Whip the Cream
In a separate bowl, whip the heavy cream until soft peaks form.
Step 5: Combine
Gently fold the whipped cream into the cream cheese mixture. Mix until smooth and airy.
Step 6: Assemble
Pour the filling over the chilled biscuit base and spread evenly.
Step 7: Chill
Refrigerate for at least 4–6 hours, or overnight, until fully set.
Step 8: Serve
Before serving, decorate with cocoa powder, chocolate shavings, or whipped cream.
Tips for the Perfect No Bake Cheesecake
Use full-fat cream cheese for the best texture.
Make sure the coffee is cooled before adding to avoid melting the mixture.
Chill long enough for proper setting.
Use a springform pan for easy removal.
Flavor Variations to Try
Mocha Version
Add melted chocolate to the filling for a chocolate-coffee flavor.
Caramel Coffee
Drizzle caramel sauce on top for extra sweetness.
Stronger Coffee Flavor
Increase the coffee slightly if you prefer a bold taste.
Nutty Version
Add crushed hazelnuts or almonds to the base.
How to Serve No Bake Coffee Cheesecake
This dessert can be served in many ways:
As a chilled dessert slice
With a cup of coffee or tea
As individual mini cheesecakes
For special occasions or gatherings
Nutritional Notes
This cheesecake is rich and indulgent, providing energy from fats and sugars. While it’s not a low-calorie dessert, you can adjust sugar levels or use lighter ingredients if needed.
Why You’ll Love This Recipe
It’s quick, easy, and doesn’t require baking. The creamy texture combined with coffee flavor makes it a favorite for dessert lovers. It’s also a great make-ahead option for parties or events.
Final Thoughts
No bake coffee cheesecake is a simple yet elegant dessert that combines creamy richness with bold coffee flavor. It’s perfect for anyone who loves coffee and wants a hassle-free dessert.
Once you try it, it’s likely to become one of your go-to recipes for easy and impressive sweets.